Easy Method for Any Giant Paper Flower
Posted by Abigail Cain on Jul 18th 2016
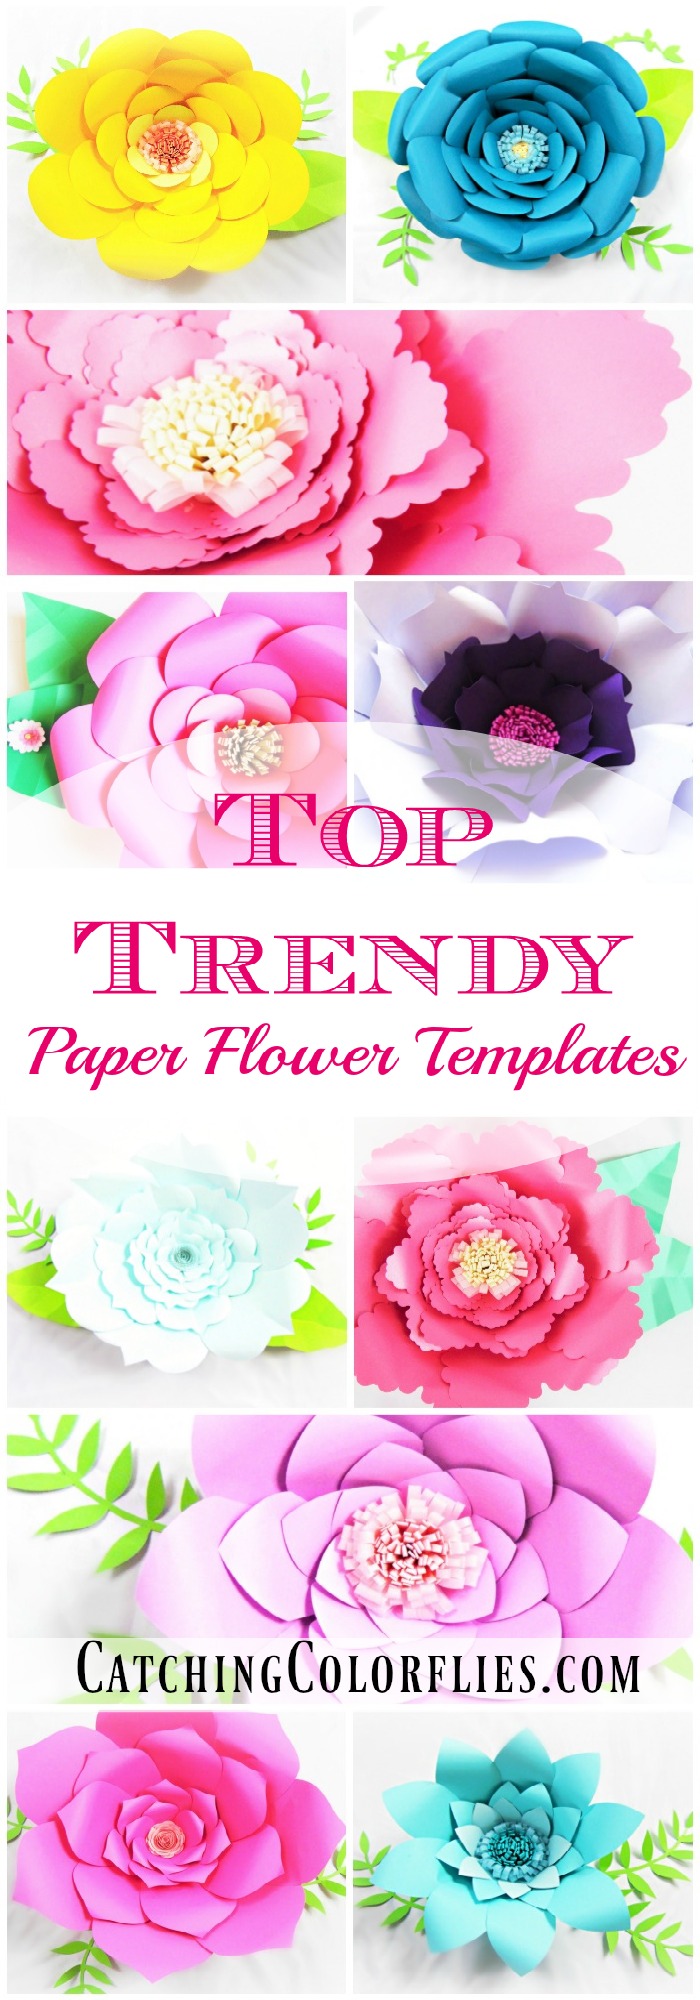
Easy Method When Building any DIY Giant Paper Flower
DIY Giant Paper flowers. Easy backdrop flower tutorial with printable flower templates.

It's no doubt that people want to DIY for their events like never before these days. There are so many wonderful tutorials out there and I want to share the easiest method I've found for building these popular giant paper flowers.
Giant flower are great to use at any event from weddings, to baby showers to even home decor! And a lot of people want to know how to to this for themselves to customize it just like they want.
So let's dive in...
Here are the supplies you will want/need:
Flower templates <---View all our trendy flower templates here!
Glue gun
Scissors
176 gram weighted/65lb Card stock
Wooden dowel
3 inch circle punch
Patience

***These flower designs are my personal creations and also my bread and butter to my family, so pretty please do not under any circumstances use these for anything other then personal event decor; I know you're too awesome to do such a thing anyways right? Thanks!
(I do offer event planner licenses if you wish to use my templates to build flowers for events. Contact me about an event license if you are interested. Under NO condition are the templates or design methods to be resold.)
I am using Everly Style flower template in this tutorial. If you prefer something different don't worry I have over 30 different giant flower templates! Files are all compatible with cutting machines and easy to use for those who want to hand cut instead, which is the method I will be using here..
For hand cut method- You will need to print out the templates from your computer onto a heavy card stock cut the templates once and use these to trace over the card stock you will use to actually build the flowers from.
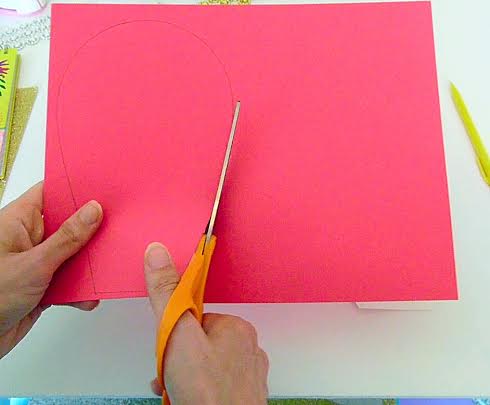
1. Begin by laying you template on your card stock of choice and trace your petals.
Largest base petal– 6-8 cuts
2nd layer– 6-7 cuts
3rd layer– 6 cuts
4th layer– 5-6 cuts
If you are using a machine skip down to step 3.

2. Once completed these templates make about a 13 inch flower in diameter. You can always send the PDFs onto a printer and have them enlarged for bigger flowers.
Cut all your petals out once you have finished tracing.
You can make this process quicker by stacking 2-3 sheets on top of one another and cutting several out at once. Use binder clips to help keep paper from
moving
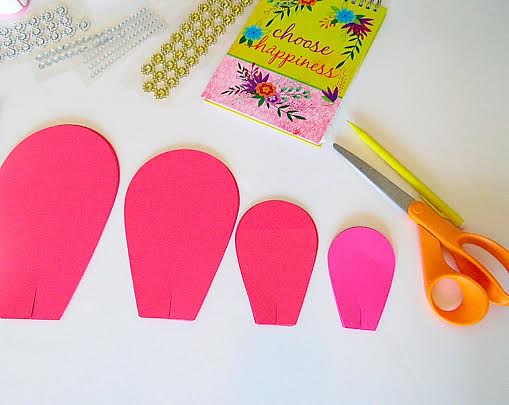
3. Now you want to cut slits at the bottom
center of each petal, about an inch, slightly less on the smaller petals.

4. Now starting with the 1st layer put glue on the inside edge and over lap the slit, but not too much or your petals will be too tight when assembled to get all the smaller layers in. Do this with all the petals. You can over lap a little more on the 3rd & 4th layer

5. Next you will curl all the petals back. You can do this by hand or use a thick wood doul or a fat
pencil works too.

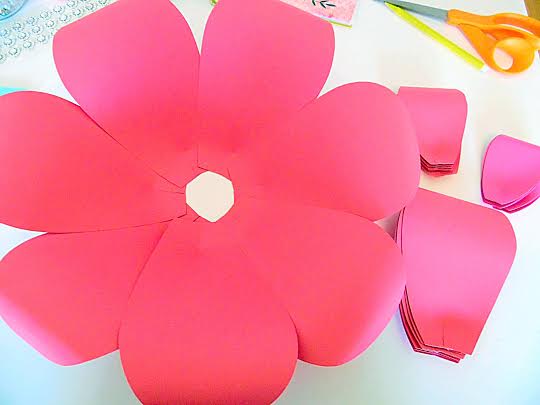
6. Assembly time. Starting with your 1st layer base petals, you want to add some glue to the outer edge of one petal and precede to over lap another petal at about a 45` angel and press firmly for a second or two.
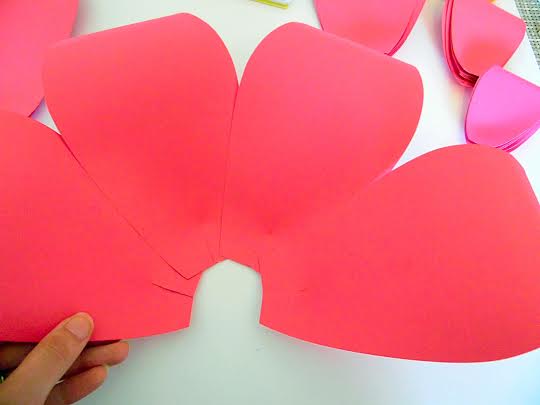
Continue in this fashion until all the base petals meet together forming a circle in the center of the flower. Watch the angel of placement as you go around making sure you leave enough room for the petals to come together evenly at the end of the circle.
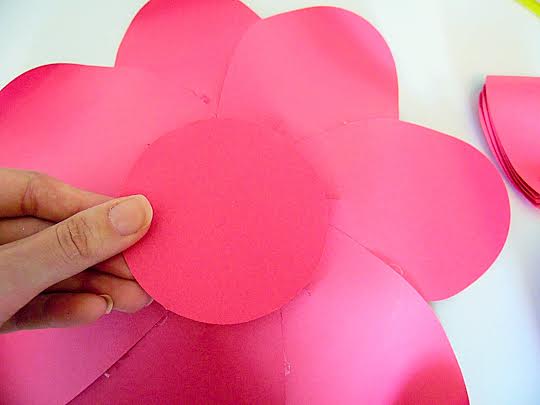
7. Use a circle punch or cut out a small square if you don't have one to glue over the open bottom.
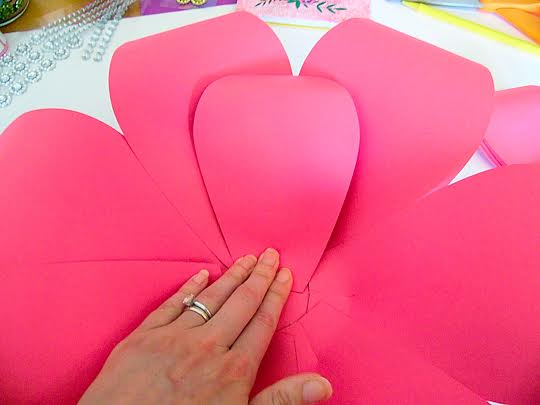
8. Start the 2nd layer of petals
alternating between the base petals as shown above

9. Continue alternating petals adding the 3rd layer

10. Continue alternating petals adding the 4th layer

12. To create the rolled center fold a piece of card stock in half length wise, cut the paper down the middle. Lay the 2 pieces on top one another and fold in half again.
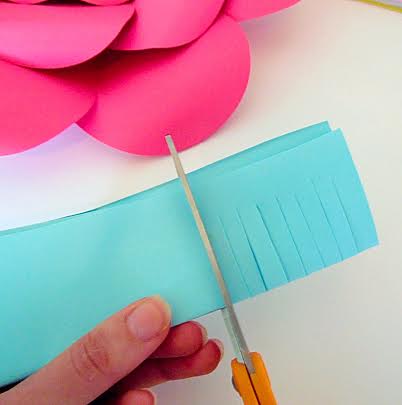
13. Begin cutting slits all the way down the paper.
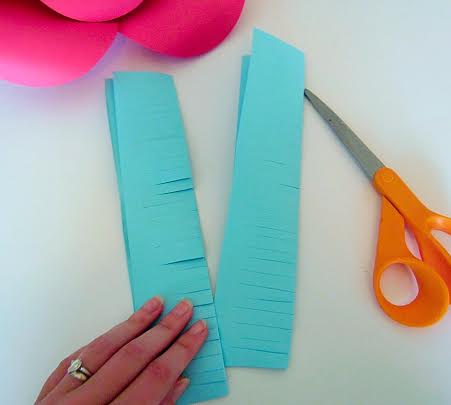
Separate the two pieces after you are through cutting all the slits.
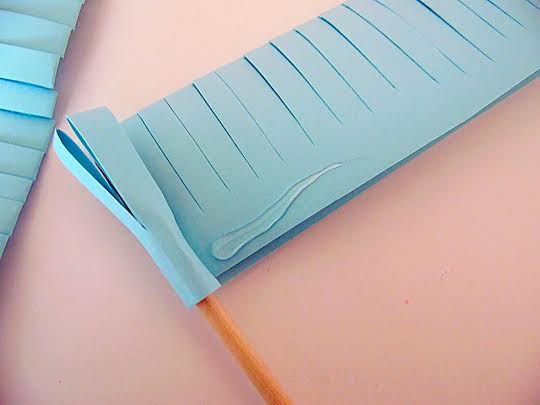
14. Starting rolling the first piece adding glue along the edge as you go.
Optional—you can use the dowel to make the rolling easier.
After you finish rolling up the first piece continue by adding on the next one.

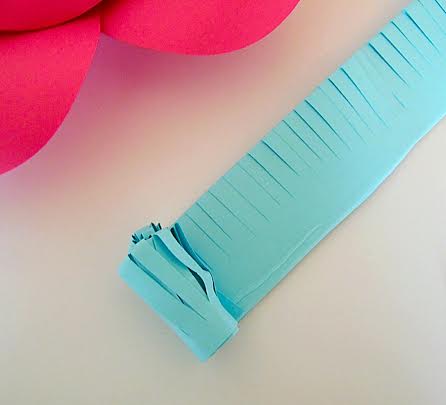
Glue the center in and admire you pretty flower!
Want the templates? Of course you do!
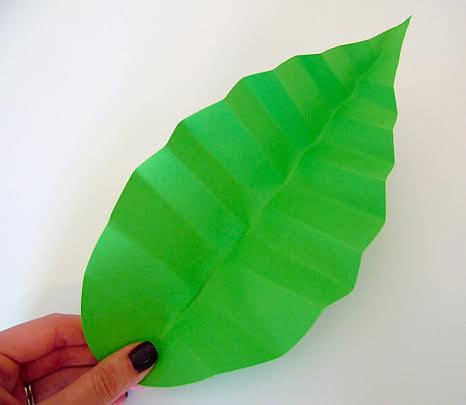
Giant Paper Leaf

1. Use your leaf template to trace onto card stock like we did with the petals.

Fold your leaf in half.

Begin folding back and forth like you were making a paper fan.

Open the leaf up and add it to your pretty flower.
Give yourself a pat on the back for being so smart and learning to make your own DIY Giant Flowers!
You can also view lots of videos for DIY flowers here.
If you enjoyed this share the love on your favorite social media site!
Don't miss anything! Join Mama's Gone Crafty.
* indicates required