The Secret to Perfect Crepe Paper Flowers
Posted by Abigail Gillespie on Jul 13th 2016

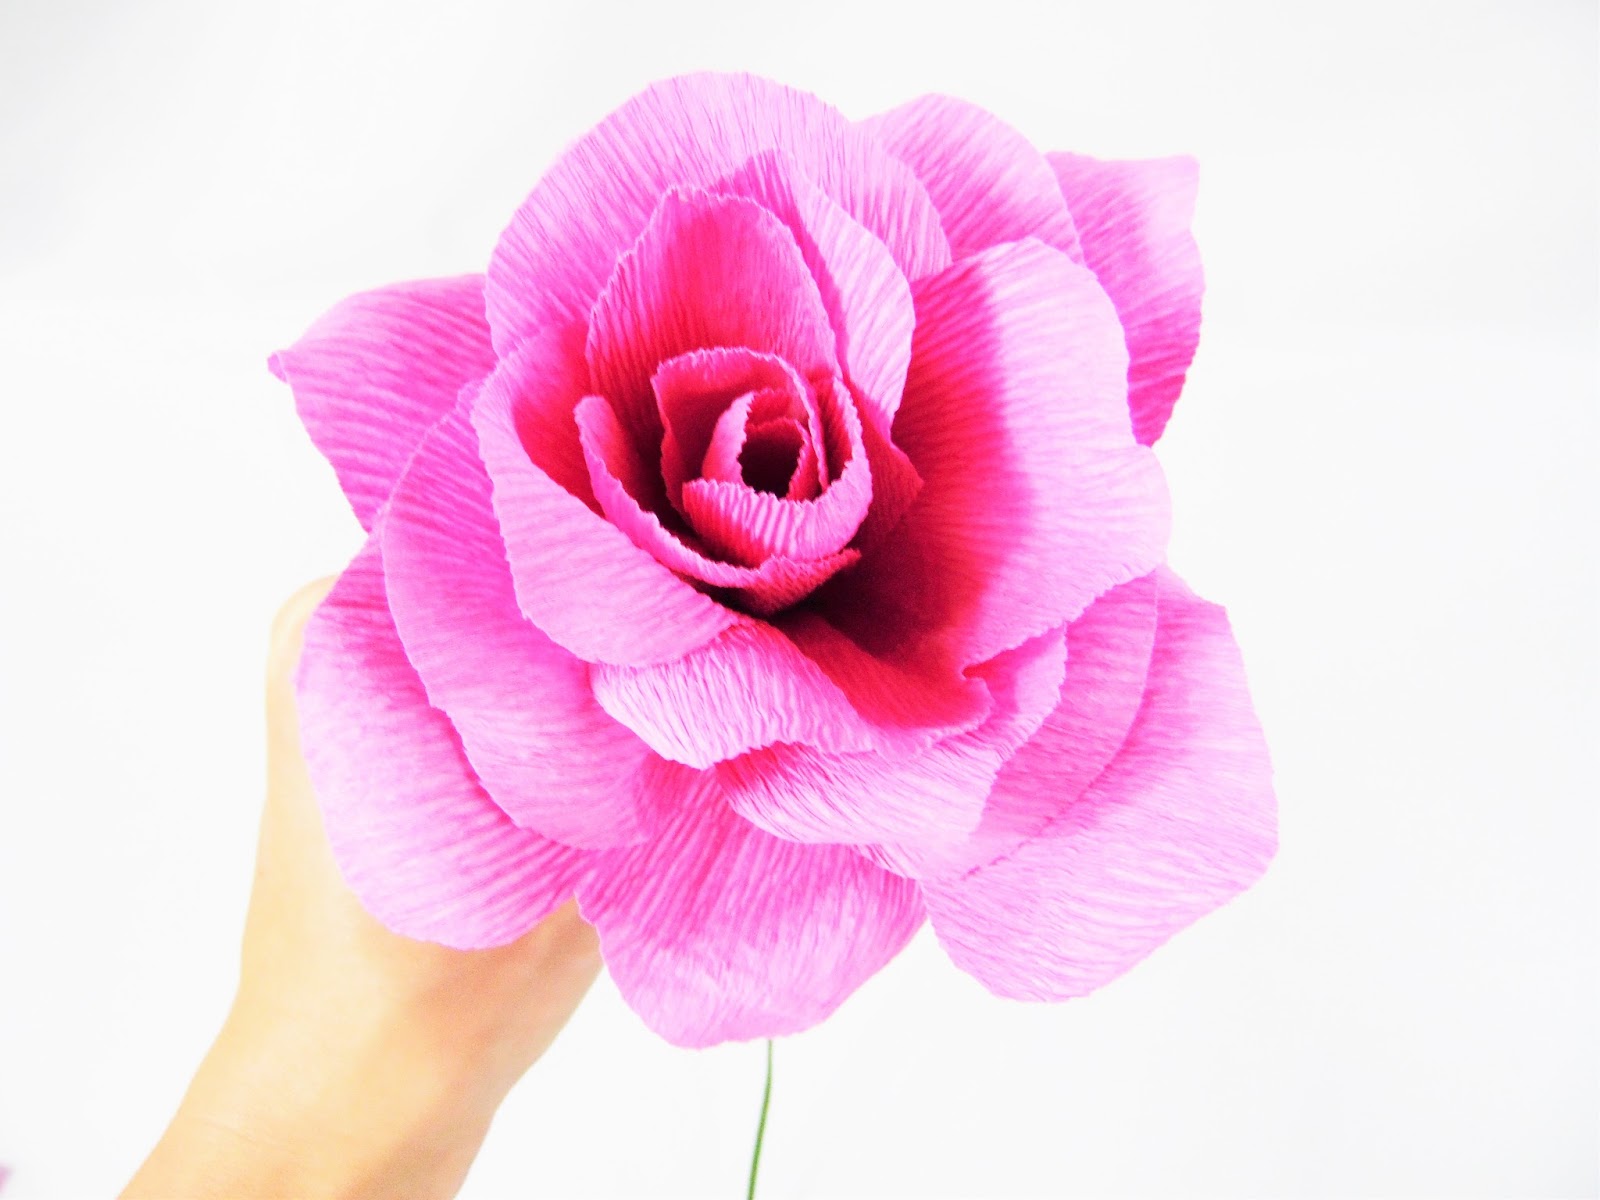
How to make crepe paper flowers

ShareFacebookTwitterGoogle+PinterestTumblr
Alright so actually there is more then one secret to making the perfect crepe paper flowers.
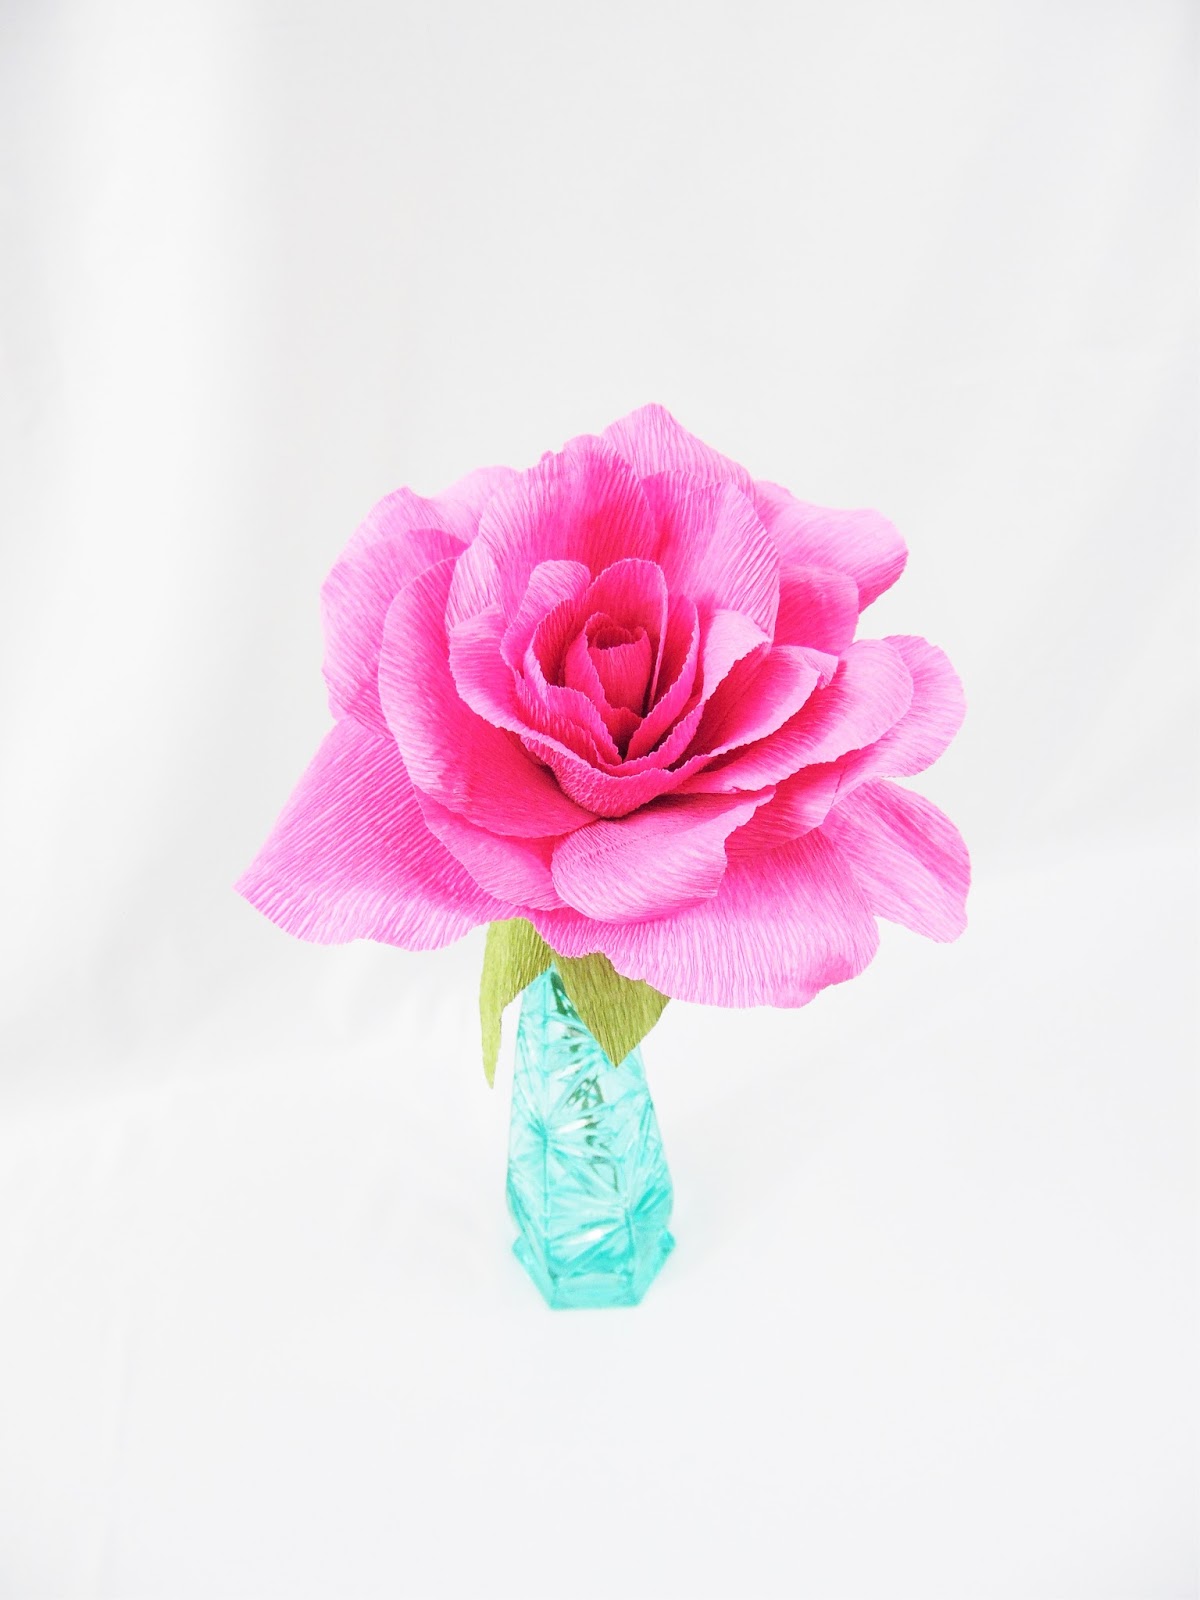
But I'm going to give you all of them including the number one most important! Plus I'm going to show you how to make that beautiful pink crepe paper rose!
This will be a continuation from yesterday's post
Trendy Typography Letter Vase with Crepe Flowers.

Before we get to the tutorial let me give you my top 3 secrets...
3. Less is more
Crepe paper is a very forgiving paper. What do I mean by that? Well 2 things, one crepe paper not only comes in very realistic colors but also has almost a similar petal texture to the real deal.
How does this make it forgiving? Unlike card stock, which I have used a lot and taught others to use, you don't have to work as hard to get the petals to look, well, like petals.
The texture helps with that so you don't need to create that for each petal.
The less is more comes in specifically when cutting your petals. A good quality crepe paper is textured with a lot of vertical ridges.
Which means when you go to shape the petals (pulling and cupping them, more on this below) that your petal is going to expand in size, almost double depending on how much you decide to pull at the petals.
So don't cut huge petals thinking your flower might be too small. Less is more!
2. You've got to follow directions
No, I don't mean my directions I'm writing, although I recommend it!
Everything about crepe paper flowers is about the direction of the grained ridges.
Your petals need to be cut so the the vertical ridges run parallel to the petal length.
Look closely at my images below and you will see what I mean.

By cutting your petals like this it will allow you to shape the petals properly.
And down to the number one most important thing when achieving the perfect crepe paper flowers...
1. You must use a high quality crepe paper!
Truly, this is the single most important thing. Even if you follow the first two tips you must have an excellent crepe paper or it won't matter, plain and simple.
Let me give you my new, and now most favorite crepe paper source.
| Click the image to check out the paper |
Show some love readers and follow Mulberry Paper on social media!
You many have seen me mention it in yesterdays post.
Mulberry Paper is truly some of the highest quality, and certainly the most reasonably priced paper I've ever used!
I'm totally serious here guys. I wasn't paid a dime to give my opinion this paper really rocks!
No wonder paper always beats rock in the rock, paper, scissors game!
Not only does Mulberry Paper have amazing crepe paper but a HUGE selection of other artisan papers like I've never seen.
- Mulberry paper
- Washi paper
- Lokta paper
- Marbled paper
- Indian paper
- Natural bark paper
- Origami paper
- Iridesent paper
- Italian crepe paper
- And sooo much more!
Here are a couple of my favorites.

Metallic Mulberry Momi Paper - GOLD

Silkscreened Nepalese Lokta Paper - BLOSSOM - White on Blue

Thai Marble Paper - TURQUOISE/ APRICOT/ RASPBERRY

Amate Bark Paper - Lace - CREAM
Now let's jump over to the crepe rose tutorial. I am using the
Italian crepe paper from Mulberry Paper And More.

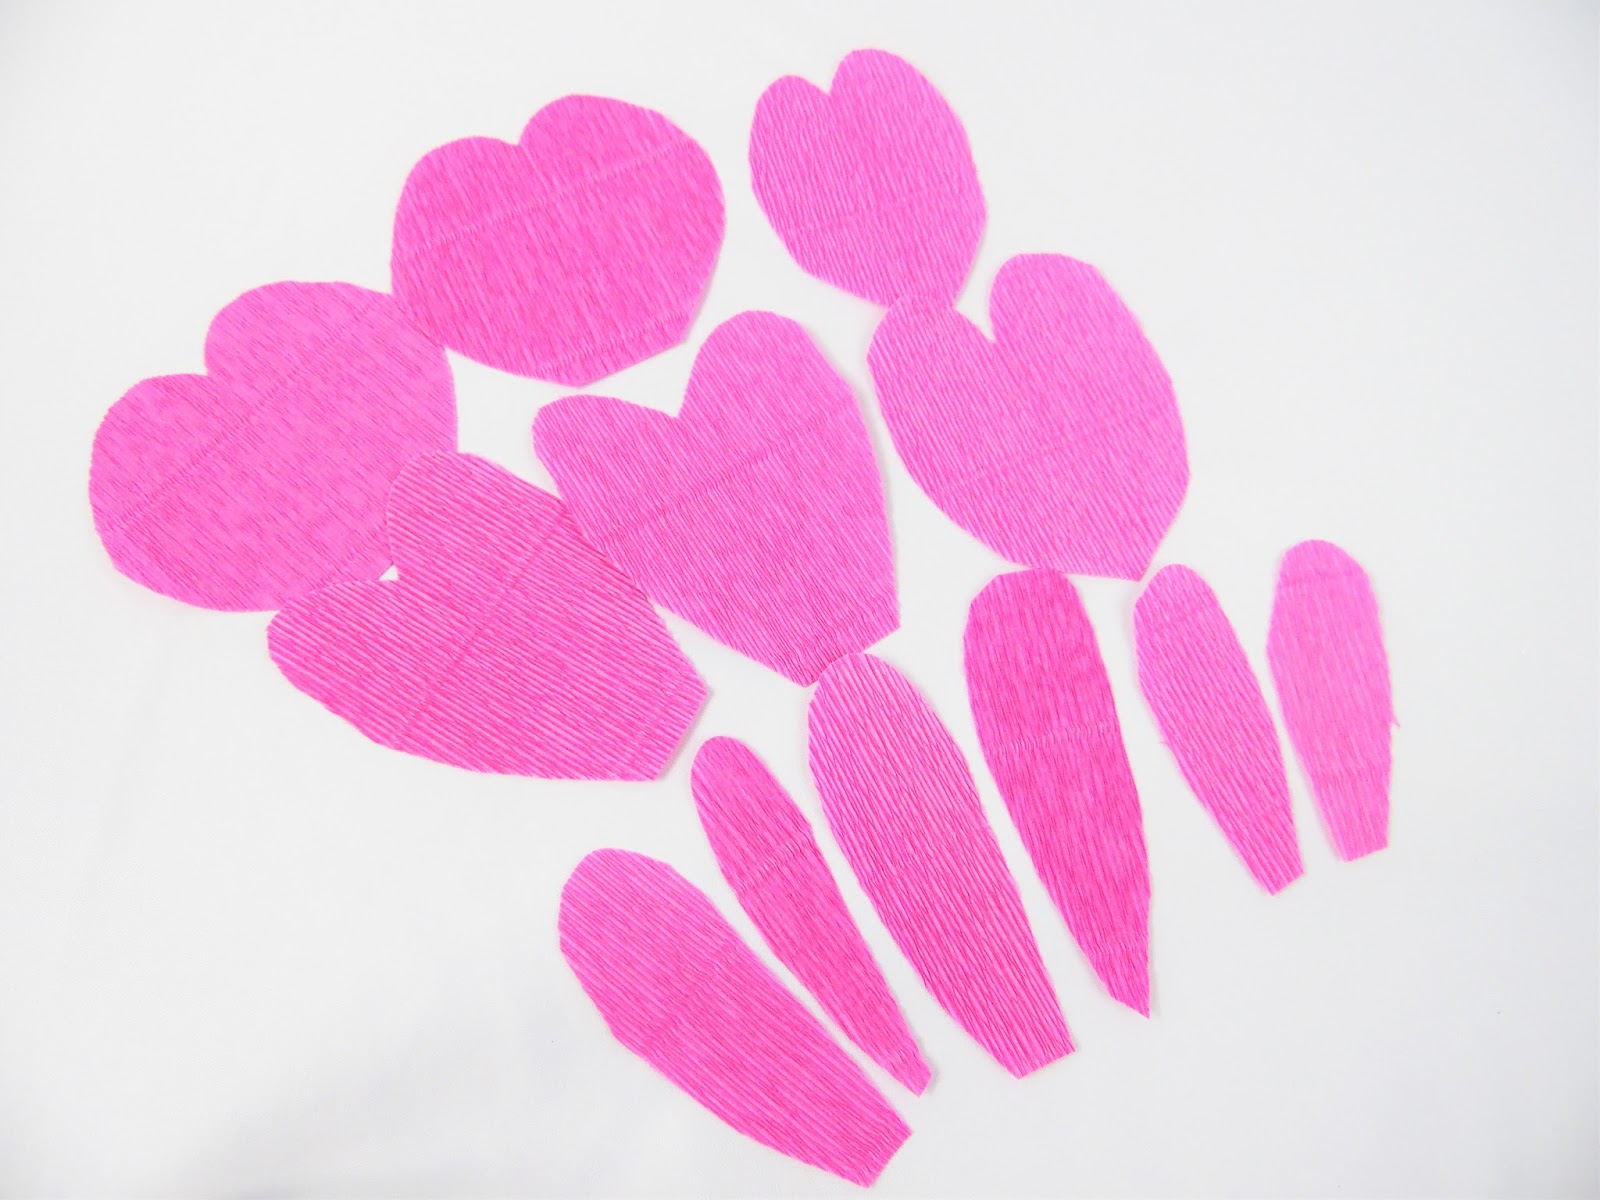
You will need to cut the 3 petal shapes shown in the below picture.
- 6-7 small petals
- 5-6 medium
- 5-6 large
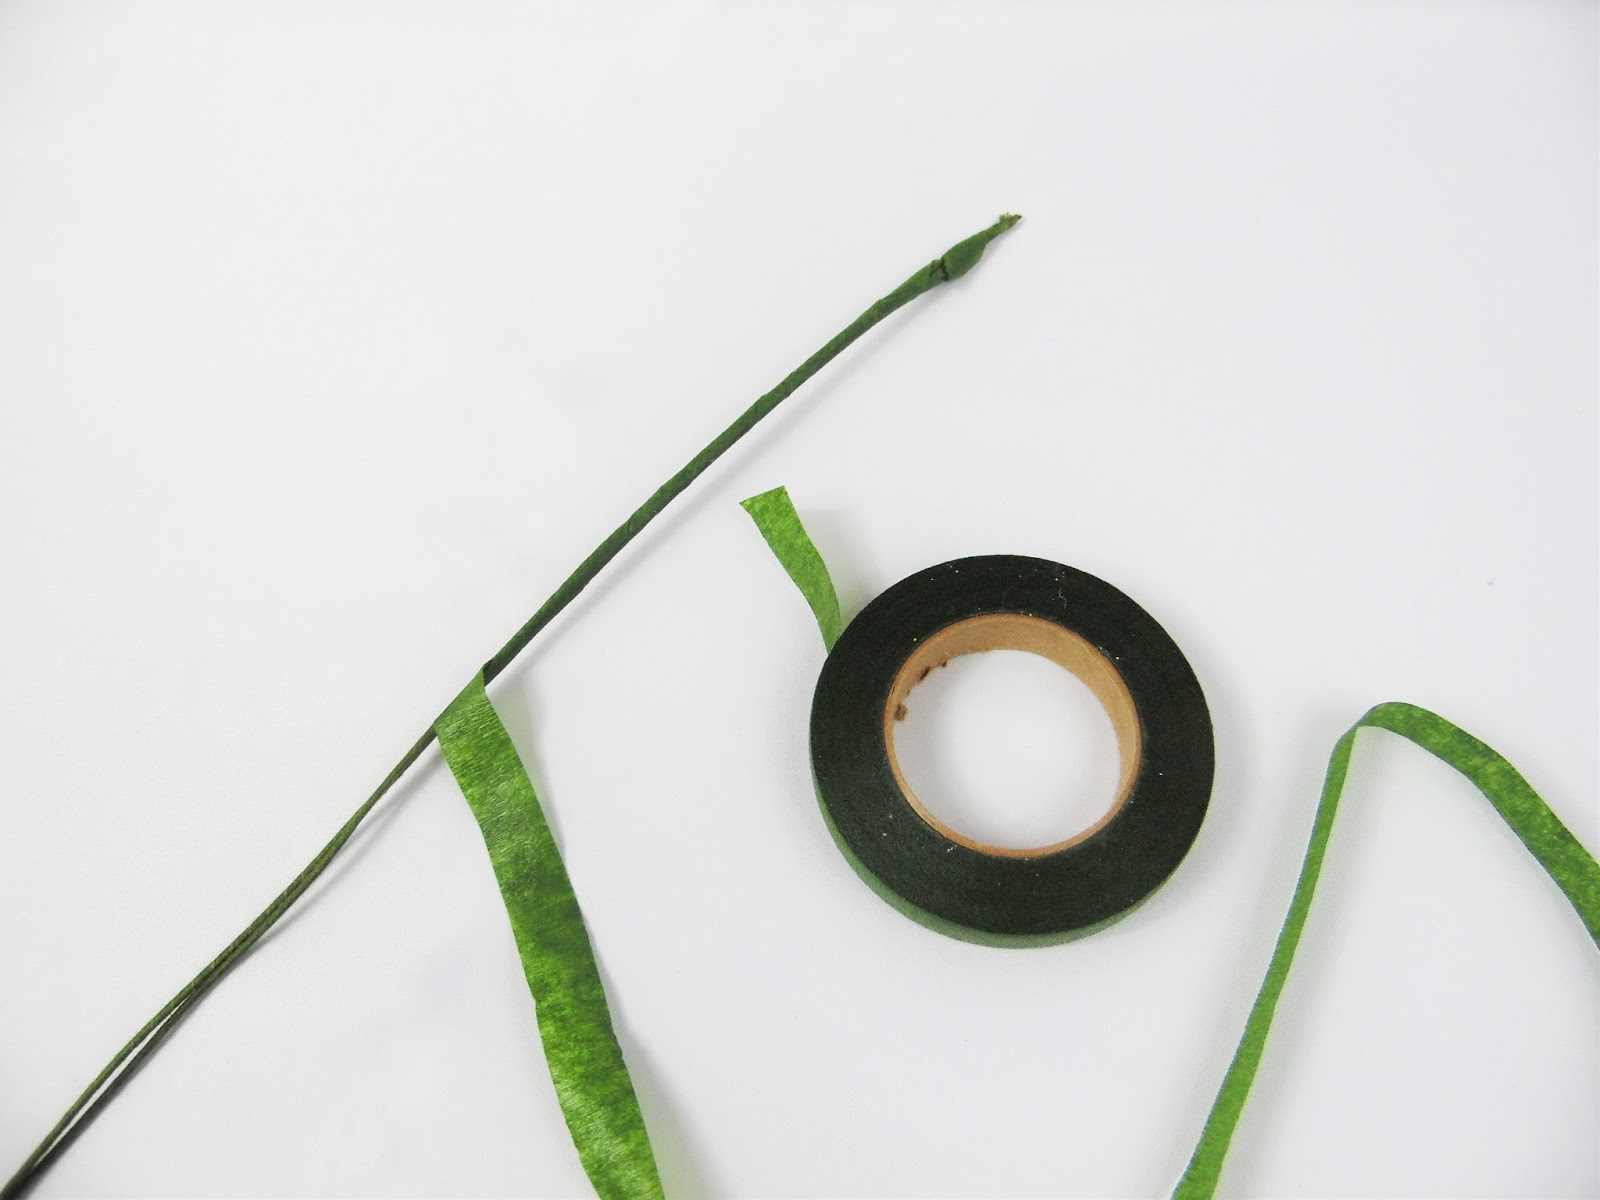
Once you've cut your petals grab 2 pieces of 18 gauge wire and wrap with corsage tape.
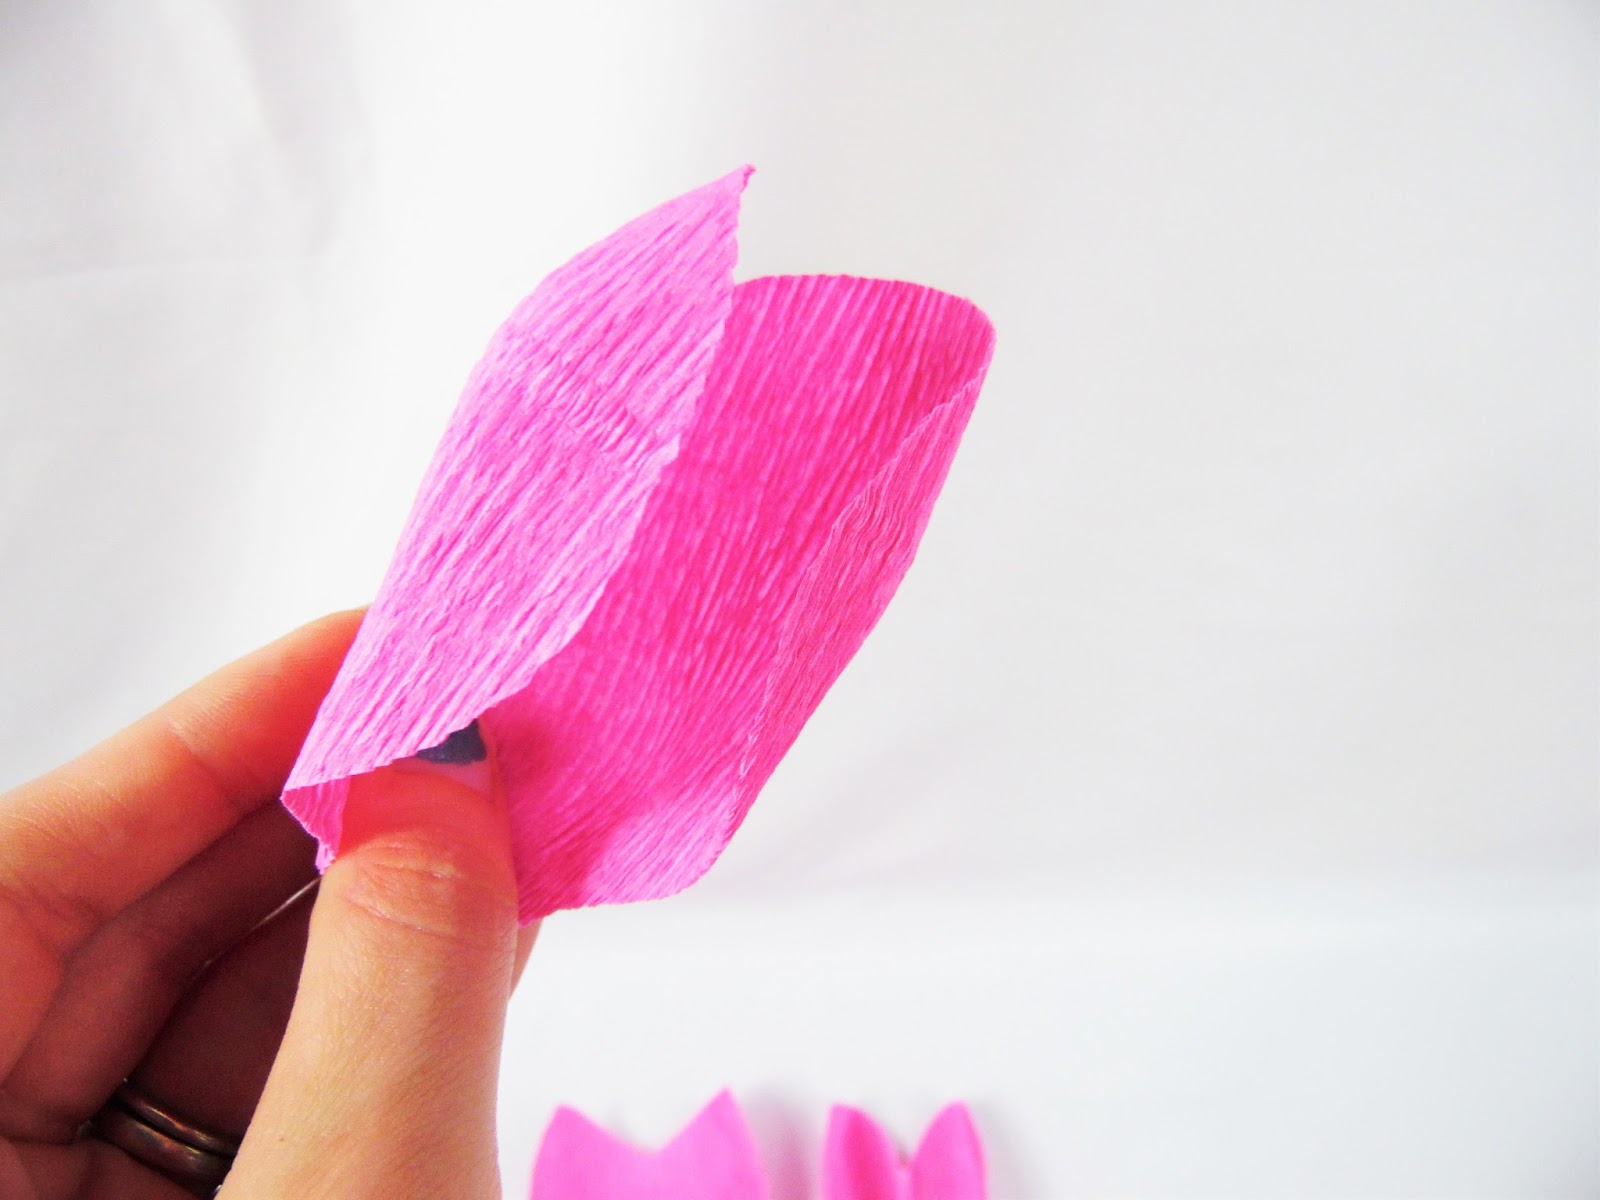
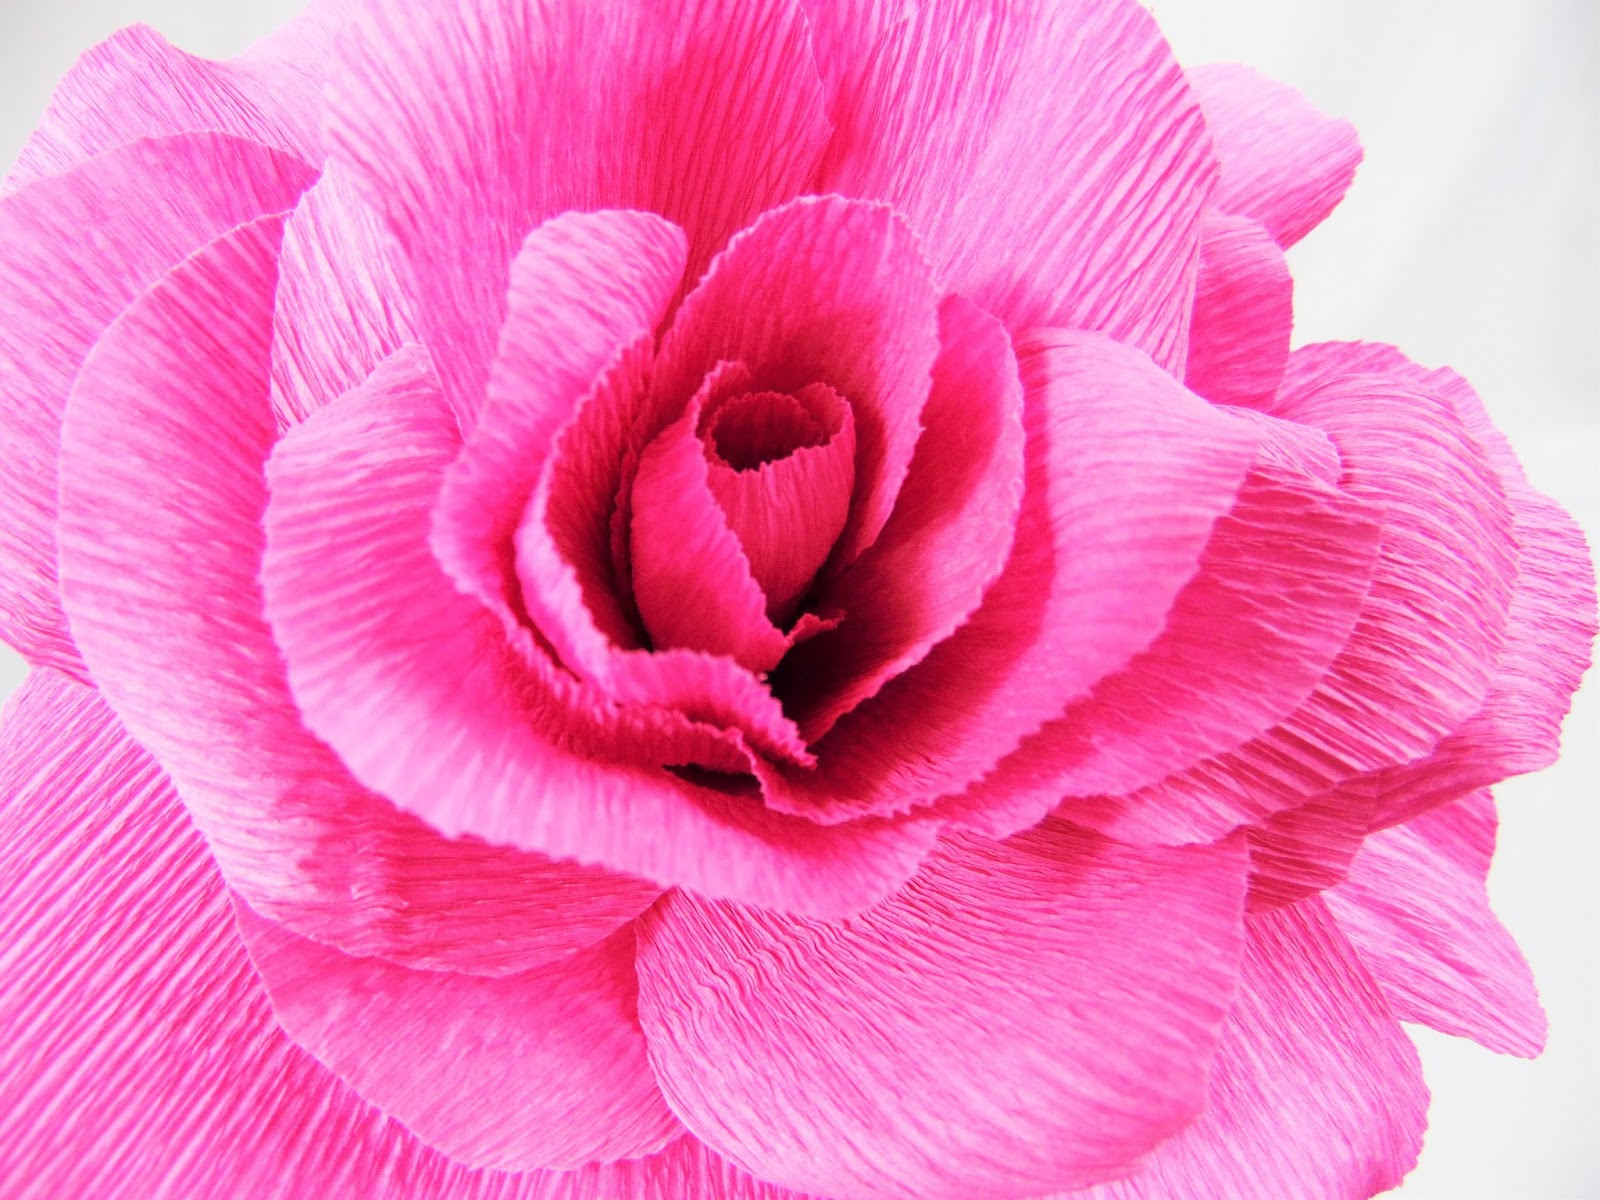
Now you want to do the pulling and cupping technique I mentioned earlier.
Gently pull the edges inward. It will come naturally.
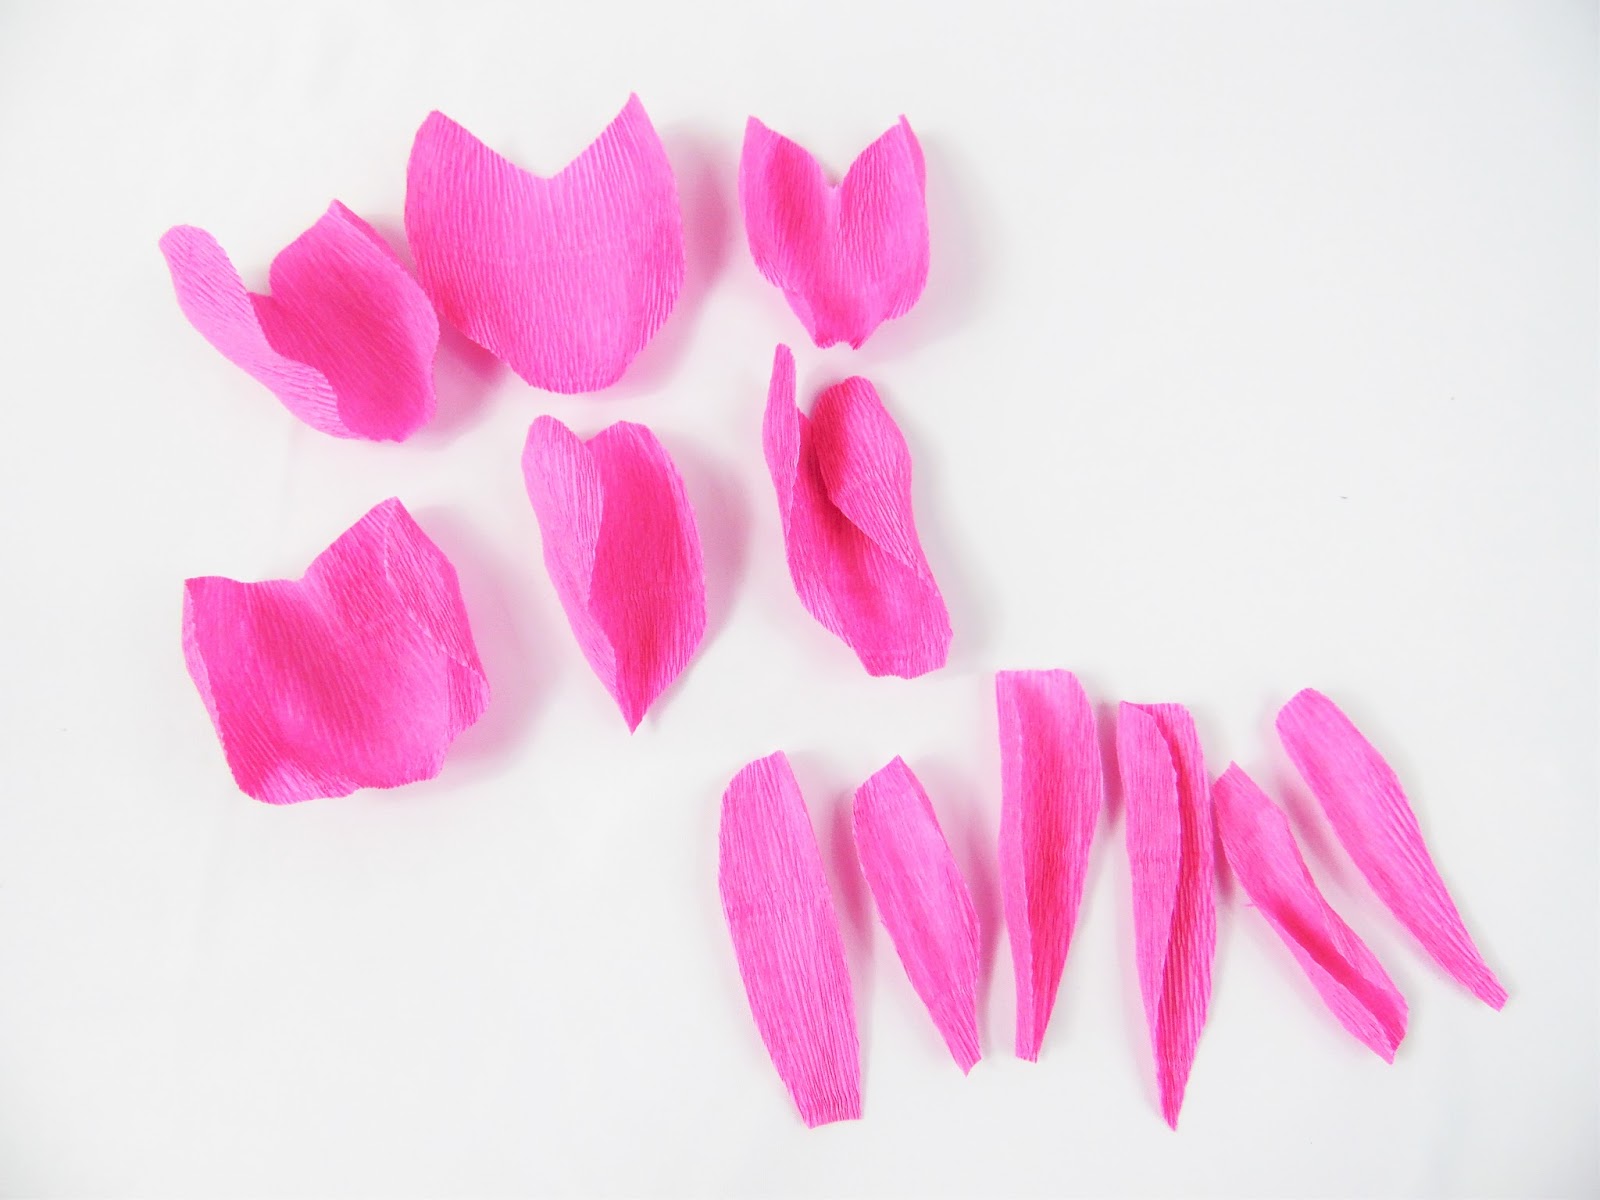
You should have something like this.

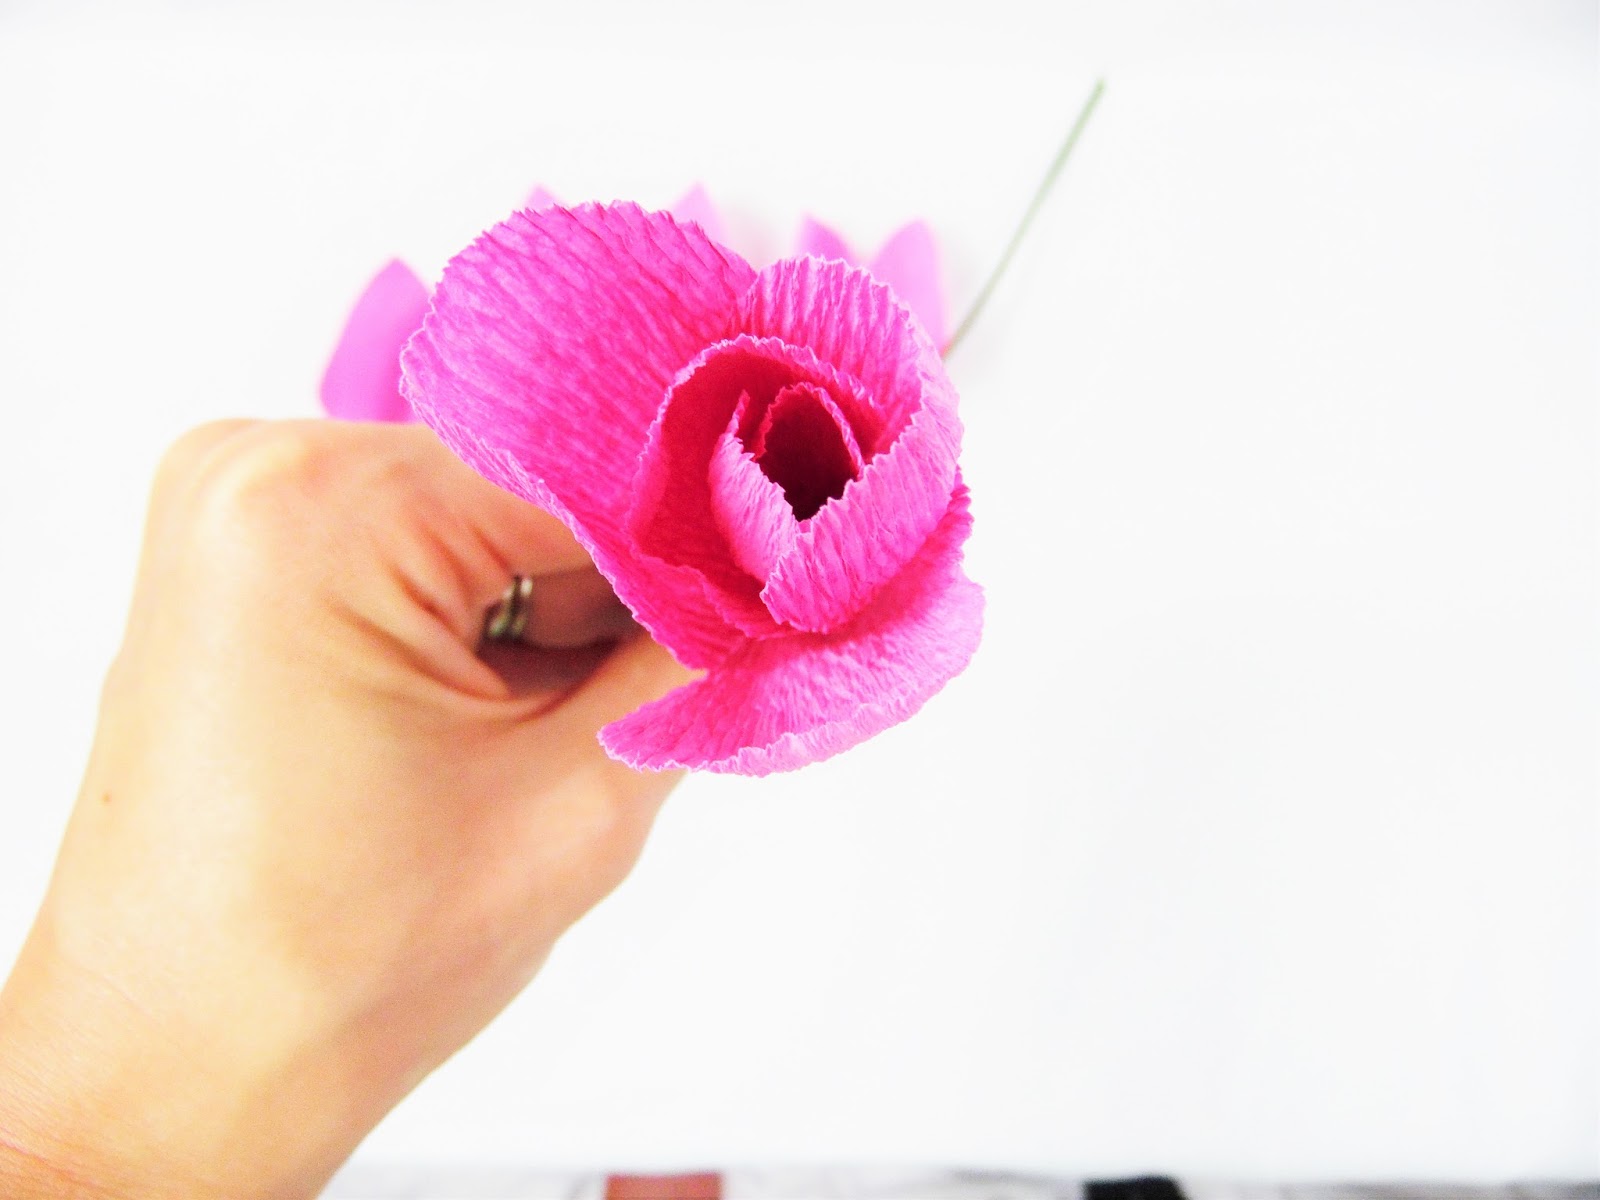
Grab your stem and one small petal and wrap it around the stem. This is the center of the rose.

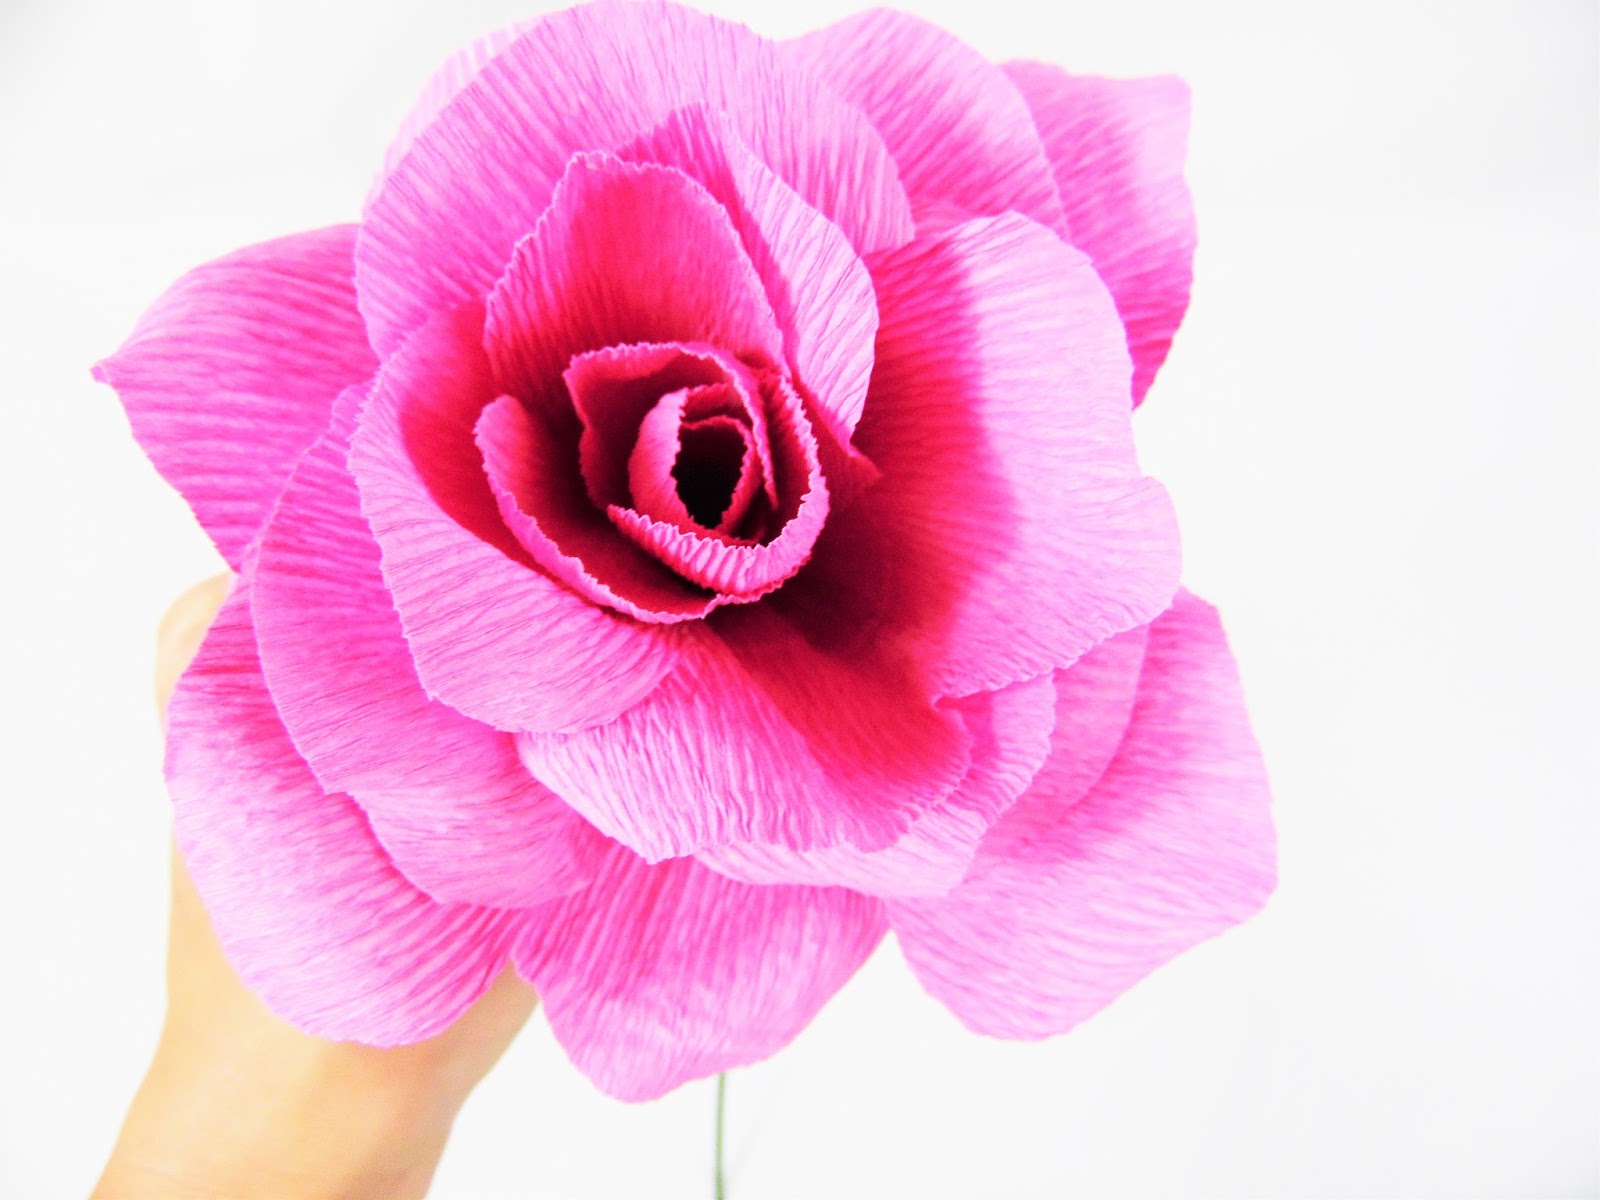
Continue with your other 5 small petals the same way going around. Don't make them too tight. You want it to look like it's blooming.
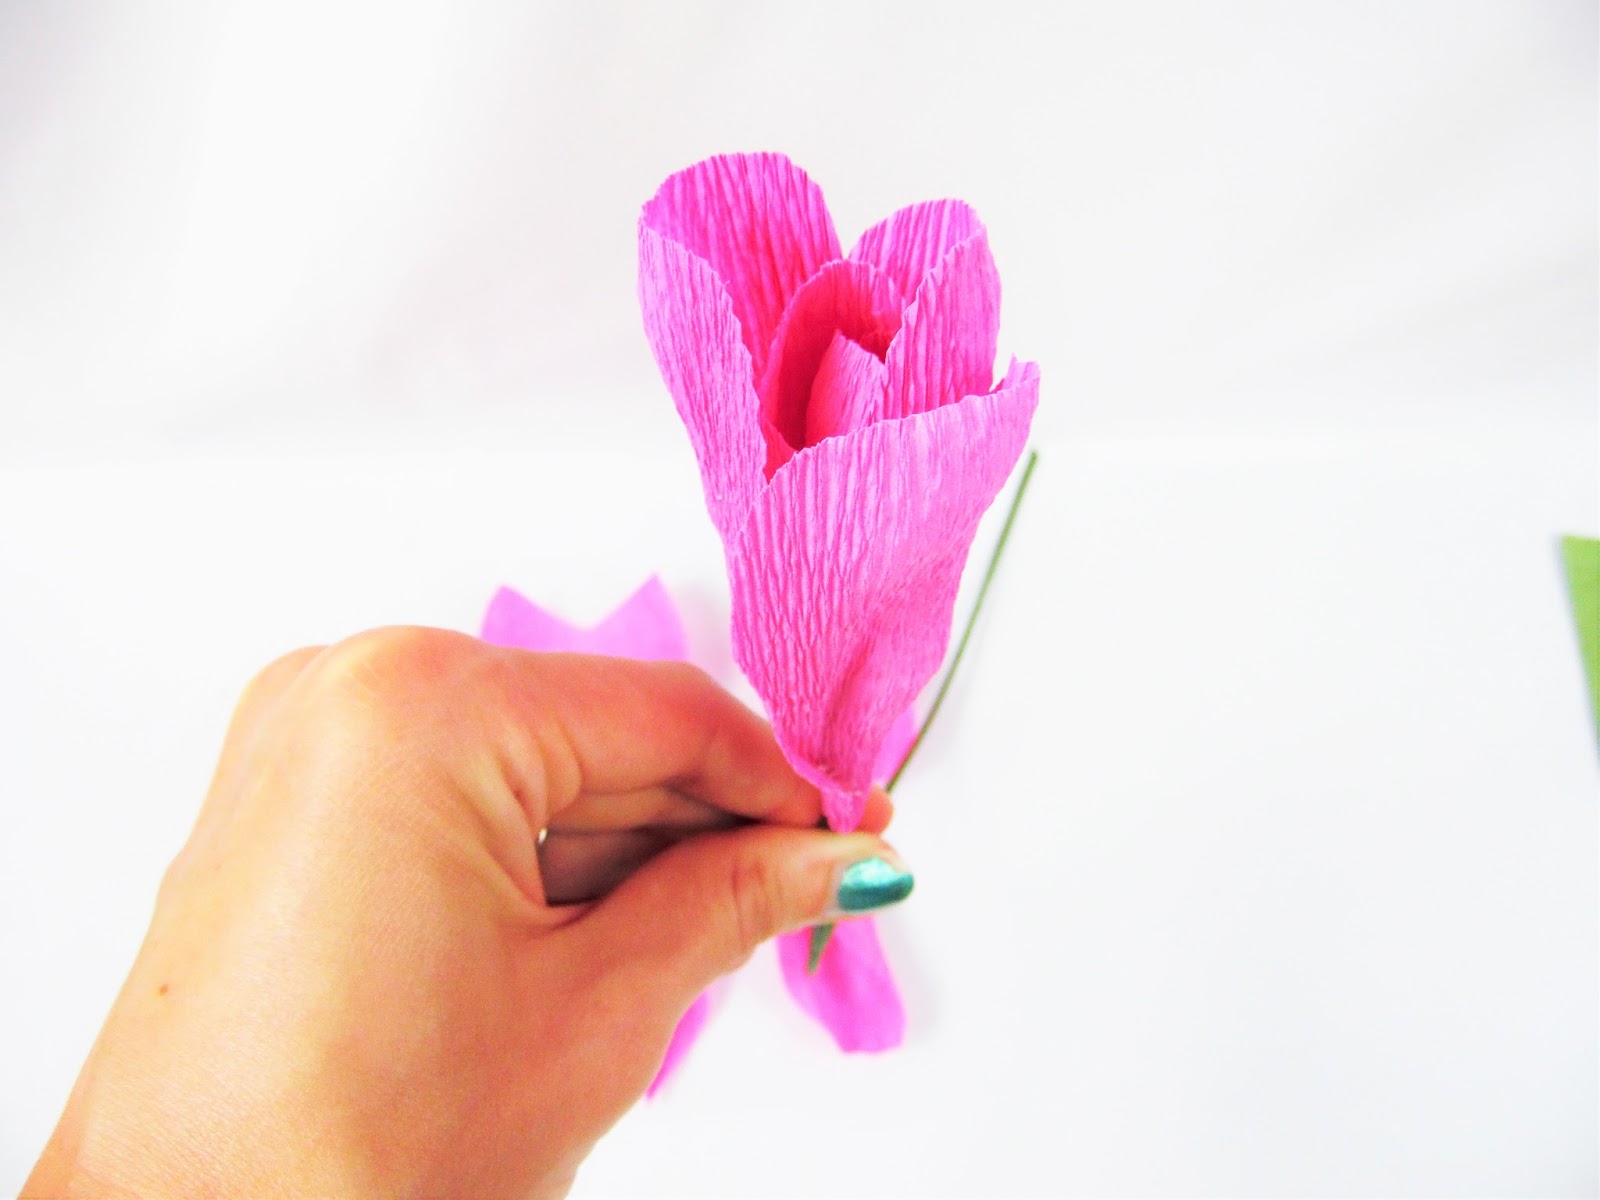
For the larger petals use a thin dowel, pencil or spare glue stick to curl the edges back.

Begin adding on the medium petals.
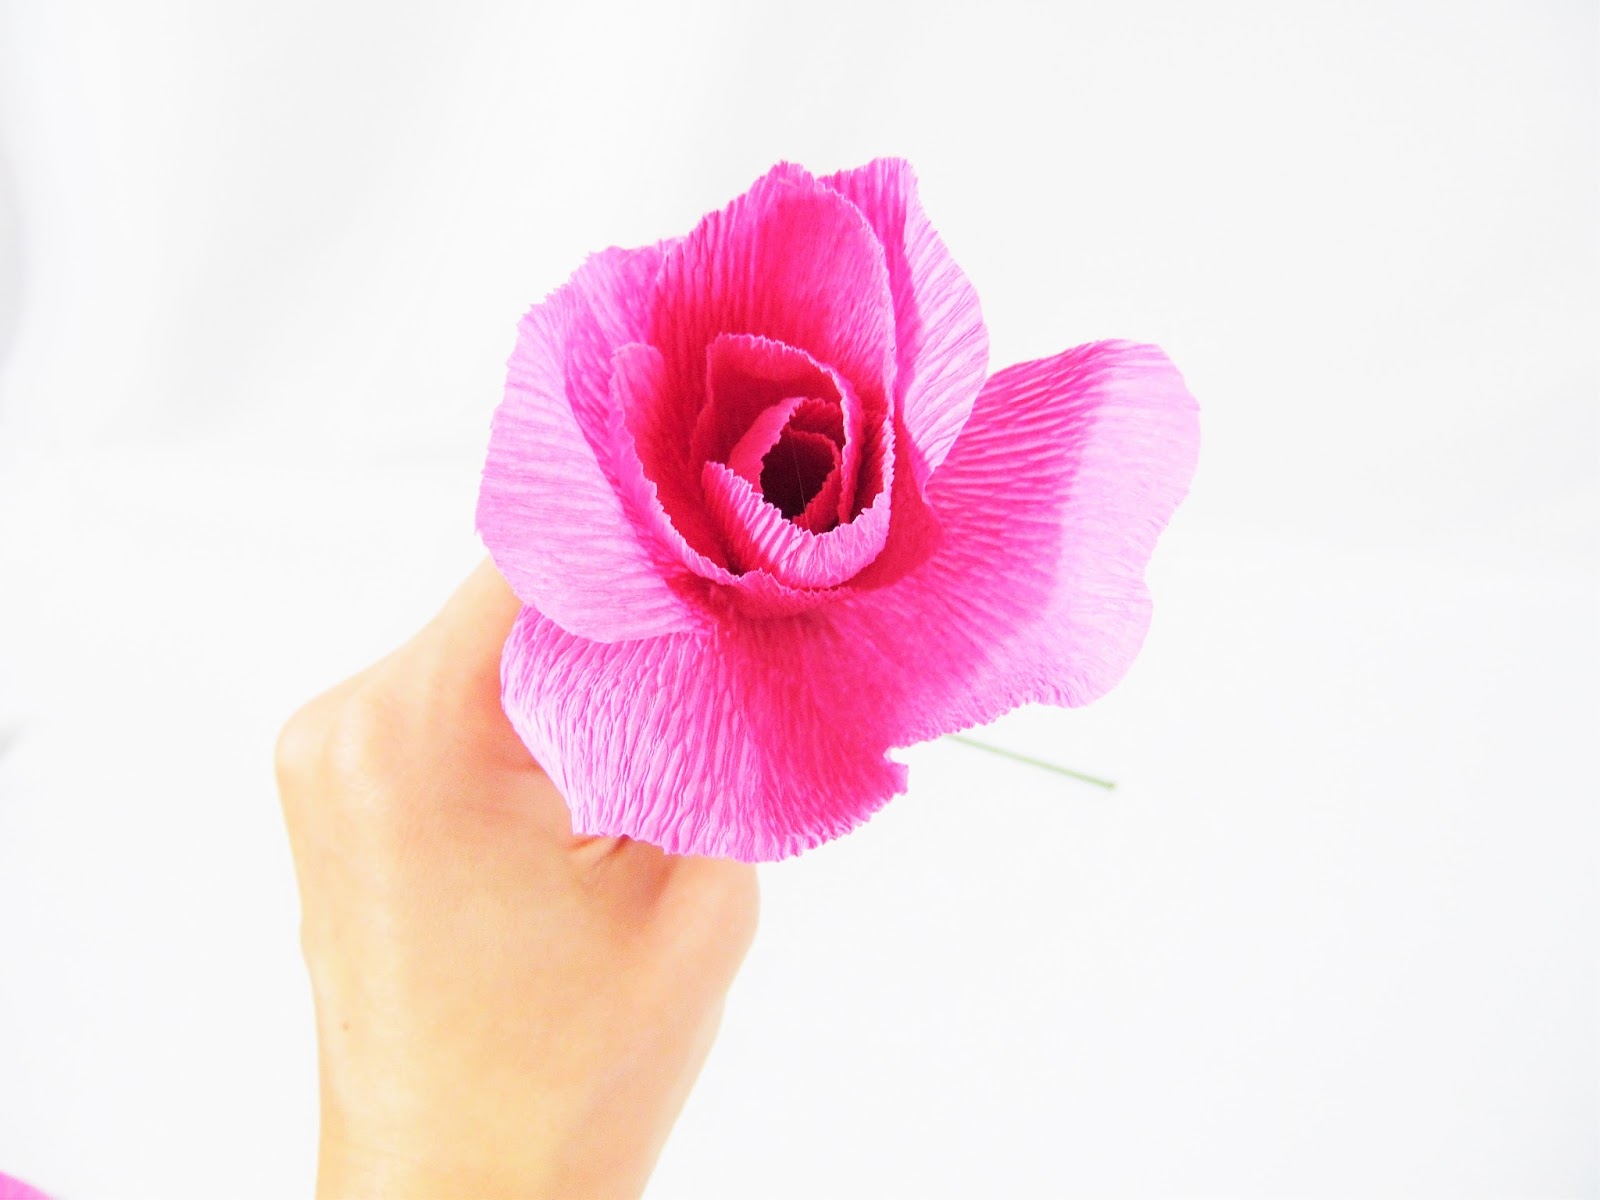


Keep going around with the largest petals
Cut a couple of leaves and one thin long rectangle with fringe edges to wrap around the rose's underside.
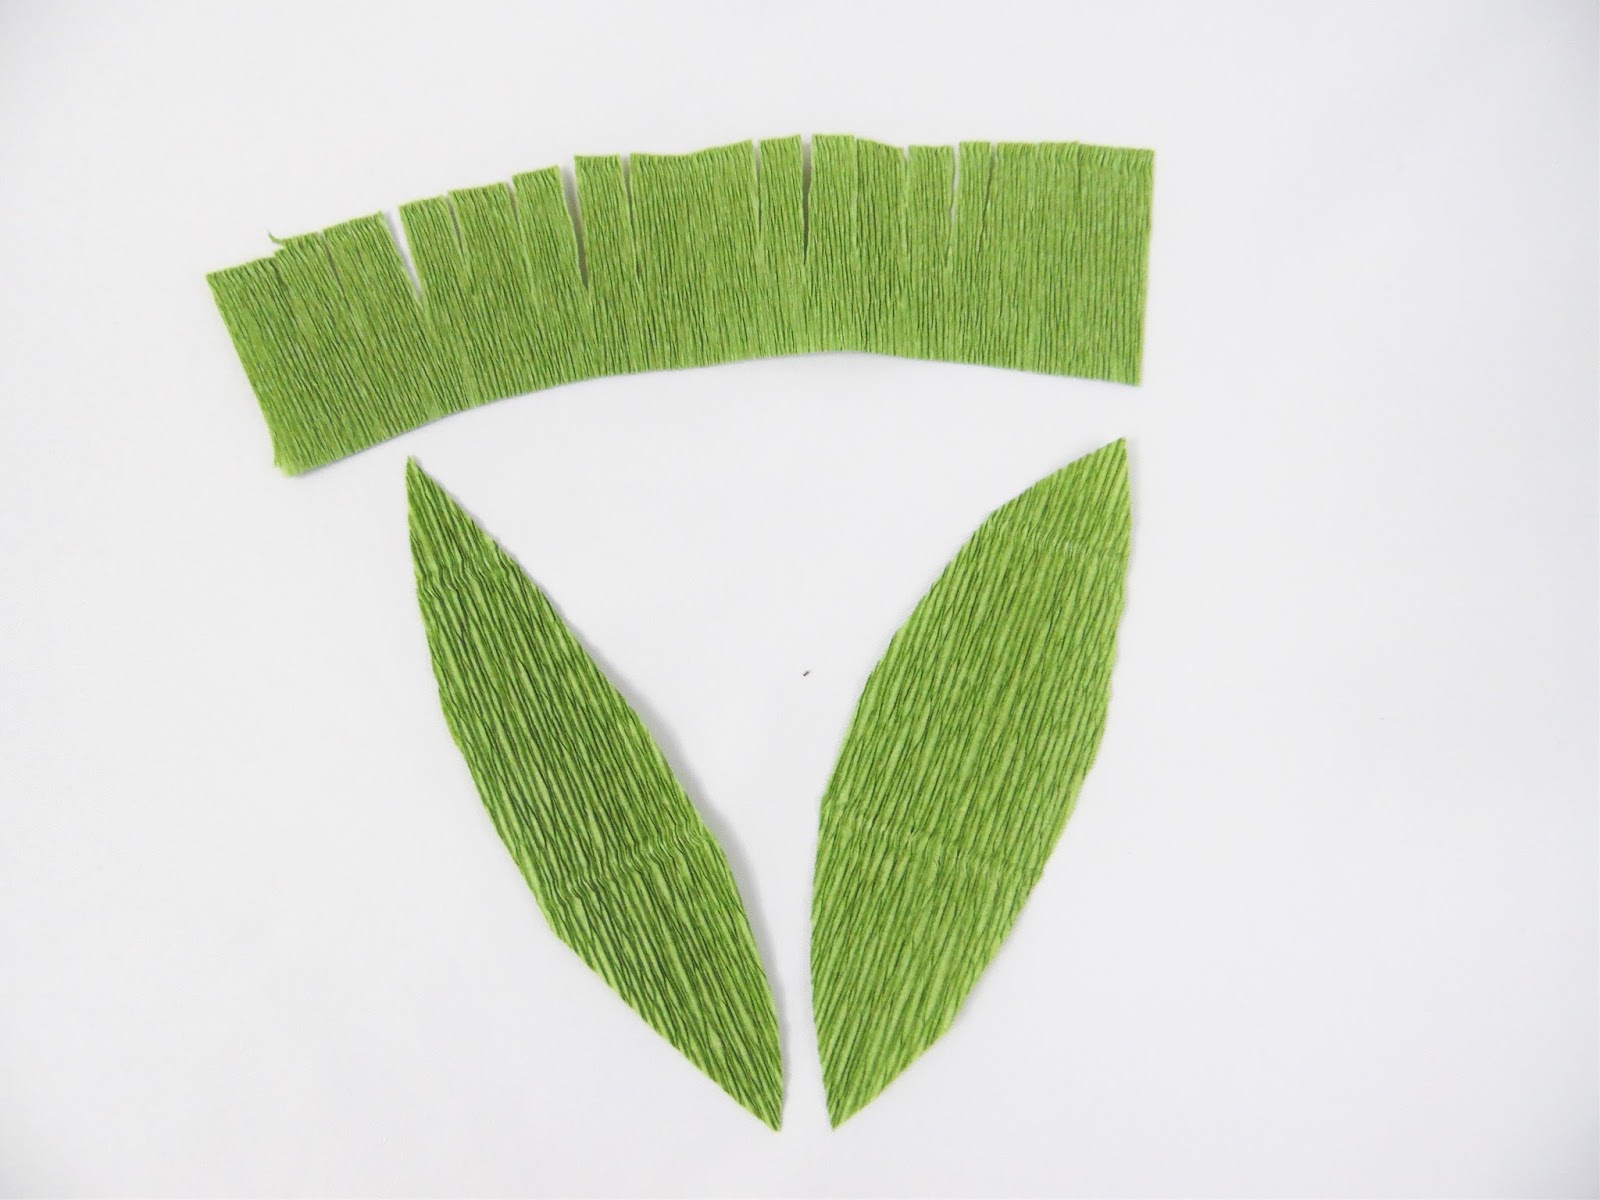
Remember to pull and cup your leaves too!
Keep up with all the best kept craft secrets!

